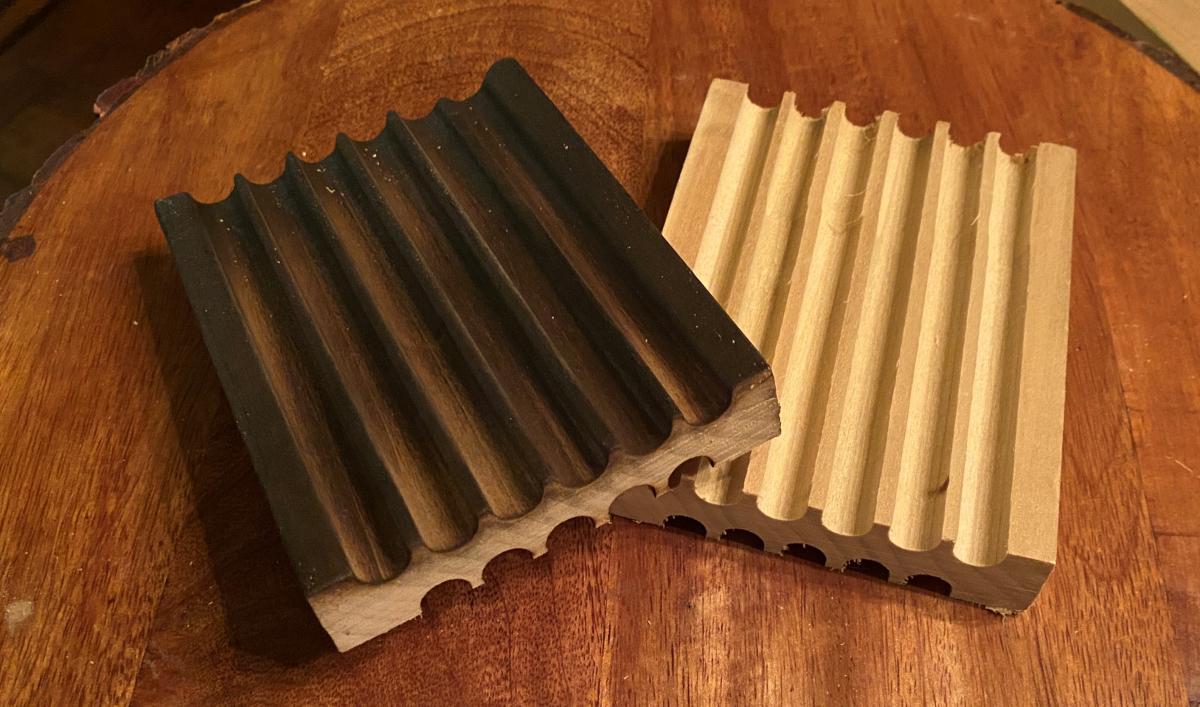
Soap dish attempts, first of many. Slight shousugiban finish on the left, and nothing at all on the right.
Making multiple copies of a project can force you to figure out new and more efficient techniques compared to making just one of something. Thinking outside the box can often lead to unexpected positive consequences and the discovery of new techniques. As a woodworking hobbyist I never expected to make multiples of a project, but recently I got the opportunity. You can take a shot at this too if you haven’t before - whether to sell, as holiday gifts, or to be given as donations to a favorite charity. It can teach you a lot about how we do what we do!
A friend of mine makes soaps and other small good-smelling things. The retired woodworker in Texas who used to make simple wooden soap dishes for her to sell (soap plates? soap stands? what the heck are these called?!) wasn’t able to continue. She asked if I was interested in picking up the mantle. Always excited for something new to make (including some extra money), I told her I would see how easily and at what cost I could make them, and then we could decide if it was worth both our time. Whether I wind up making them for her or not, this is a great chance to practice problem-solving design and production-level woodworking.
Cost and labor are not things I usually take into account when making something, not because I have unlimited money or time, but because I have never made anything at production levels, and she wants batches of 200 of these bad boys per order. And so I set about figuring out the cheapest and easiest way to try to make them, including picking the brains of production-level pro’s amongst our staff and customers.
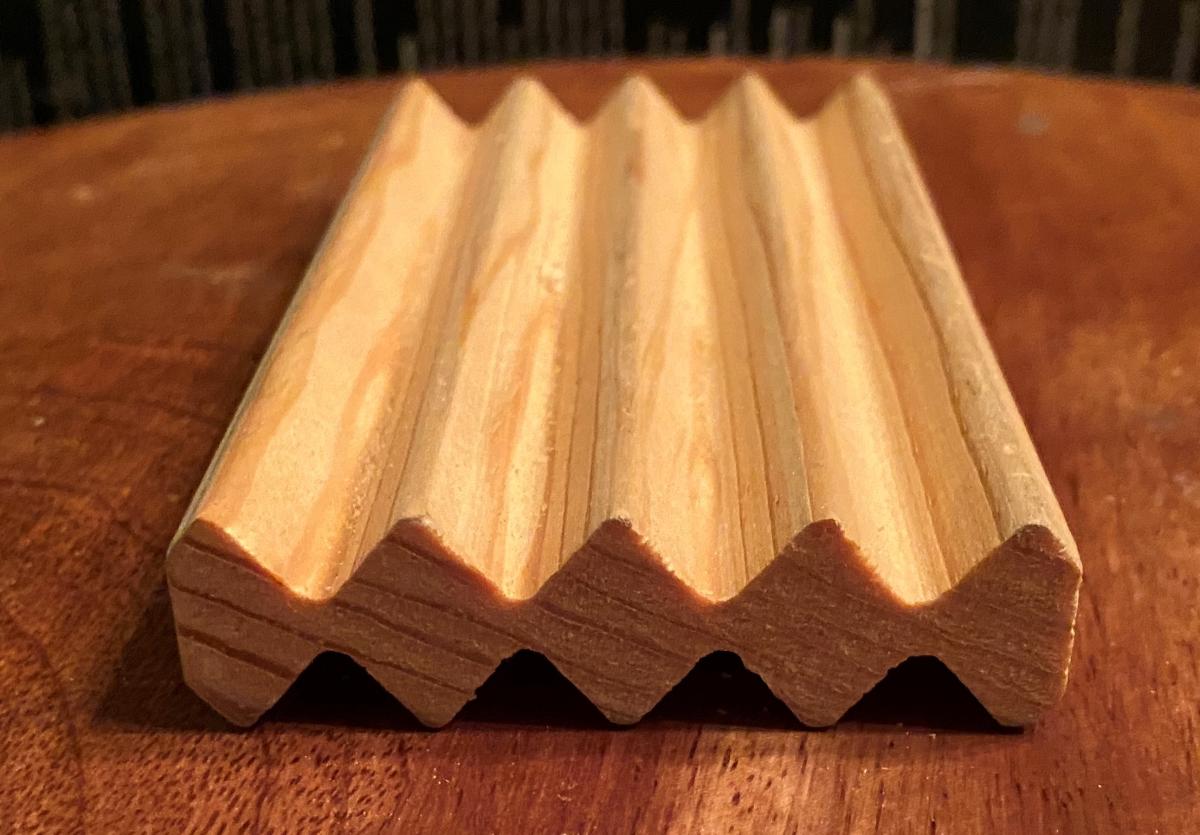
This is the original she was selling. I actually like the design, simple, rounded edges, and looks clean. It measures 4 inches long by 2.5 inches wide, and is made from 1” thick cedar boards, matching the size of her soaps.
I don’t know (and neither does my soap-making friend) exactly how the previous maker created these soap dishes, but my first go-to with questions about reverse-engineering is Joel Moskowitz, and he confirmed my suspicion that most likely the guy had a shaper (think beefed-up super router) with a custom bit that could cut all the grooves at once. I do not have a shaper, nor do I have a CNC (computerized router) which would also make quick work of this project.
What I do have is free reign to change the look if I need/want to. It still needs to have at least one side not solid, so the dish wont sit fully on soapy bath/shower water and get funky. I came up with a few options on how to proceed, but the list quickly narrowed down to one idea.
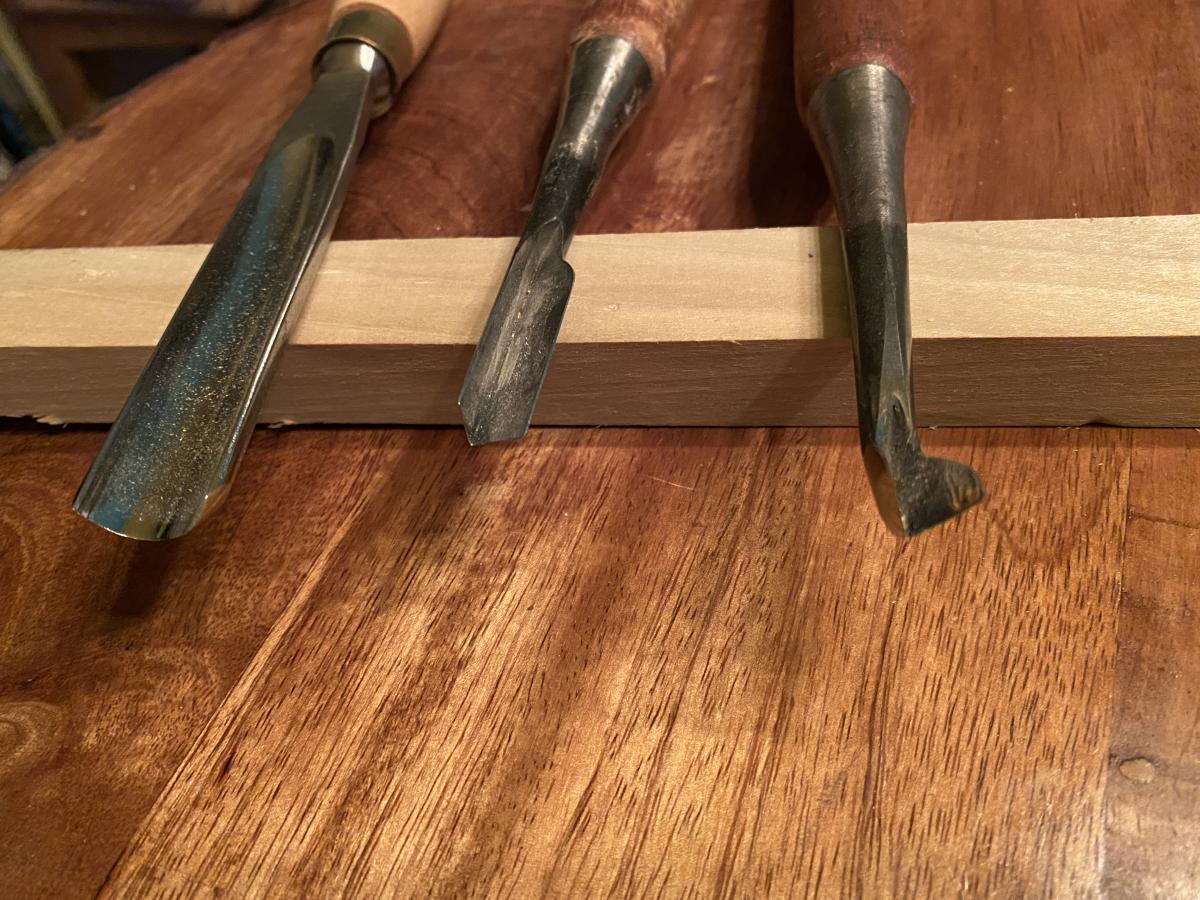
Hand carved - A lovely idea! I was excited to try it, but nope. I tried one by taking poplar blanks and gouging it with some differently shaped gouges and it took way too long to make. It is difficult to get clean gouges over a long length of wood, which is the most efficient way to make these.
I tried an Ashley Iles gouge and some wider Japanese V-Tools, none of which easily gave me the depth of cut or look I want.
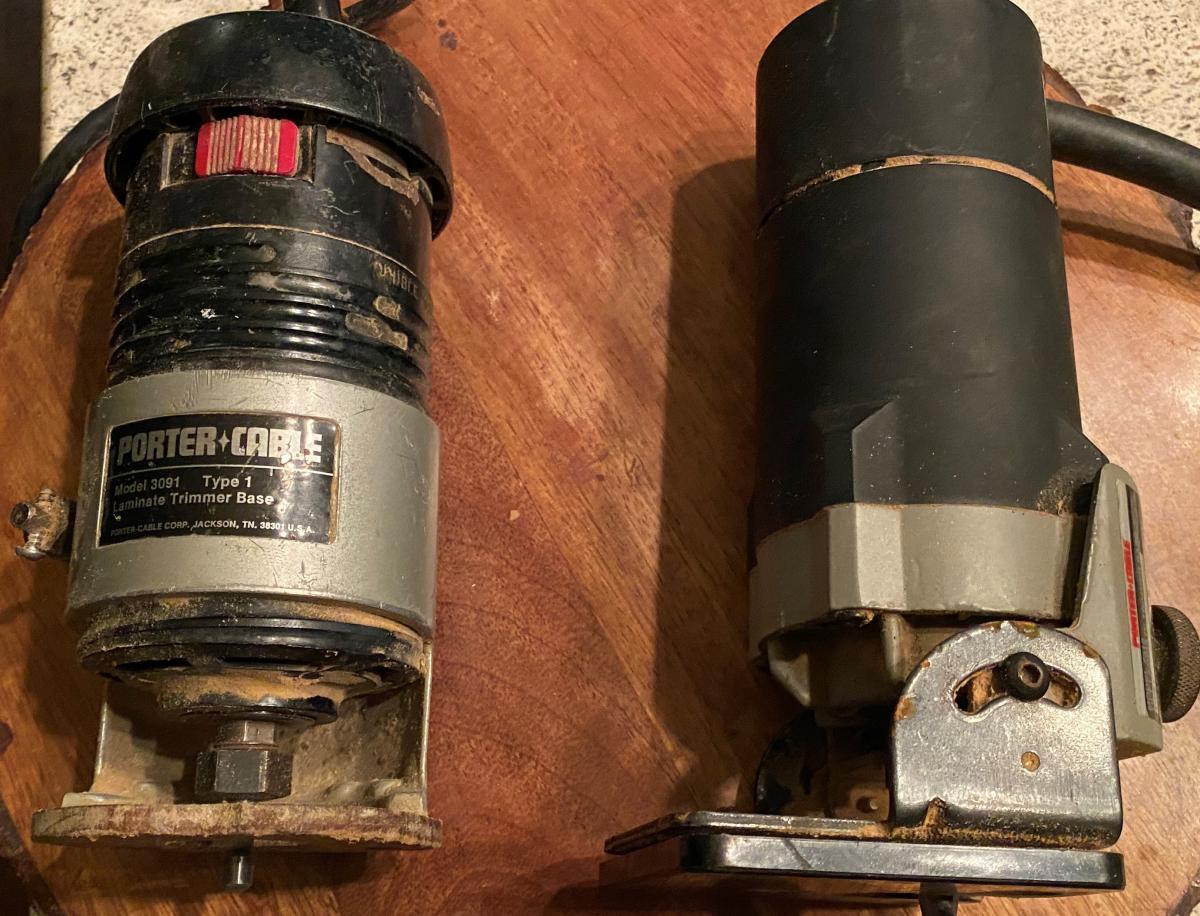
Router, free hand - Using a small router freehand and some not-too-fancy fence work, theoretically I could bang these out. I recently picked up a few small vintage handheld routers (trim routers) which would do the job and be fun to use, in addition to the Dewalt fixed base/plunge router I have. The main obstacles here are I do not have a woodworking bench at home (think dining room table), and setting up and leaving up fences/jigs to do production levels of these is not really an option. Also, I don’t have a lot of experience routing free-hand outside of rounding-over and chamfering edges, and I think there would be a bit more of a learning curve than I was looking for.
I love these little trim routers. Fun, cute, and easy to use, but not right for this project.
Router table - Ding ding ding! We have a winner. A router attached to a router table is MADE just for projects like this. One setback - I needed a router table.
Sigh.
So I had to buy one.
I picked up a Ryobi Universal router table from a large store whose name need not be mentioned. I like Ryobi - it is a good, affordable starter brand for DIY-ers and hobbyists alike, and for those who cannot afford higher end tools. The trade off of course is they are not always super tough or super accurate, sometimes to a problematic degree.
One more thing - “universal” doesn’t always mean fully “universal”. For a router table, universal refers to whether any router can attach to the table’s plate. In my case, the Dewalt routers I own did not. There are pre-drilled holes in the table’s plate that allow for most brand routers to attach with no other prep (hence “universal”), but in my case I would have had to center the base plate of my router, drill holes through the table plate, and more, and would have had to be accurate to a degree I did not feel comfortable trying on my own. And so I had to get a router. I opted for a simple Ryobi that was designed to work with the table, and would be dedicated for that.
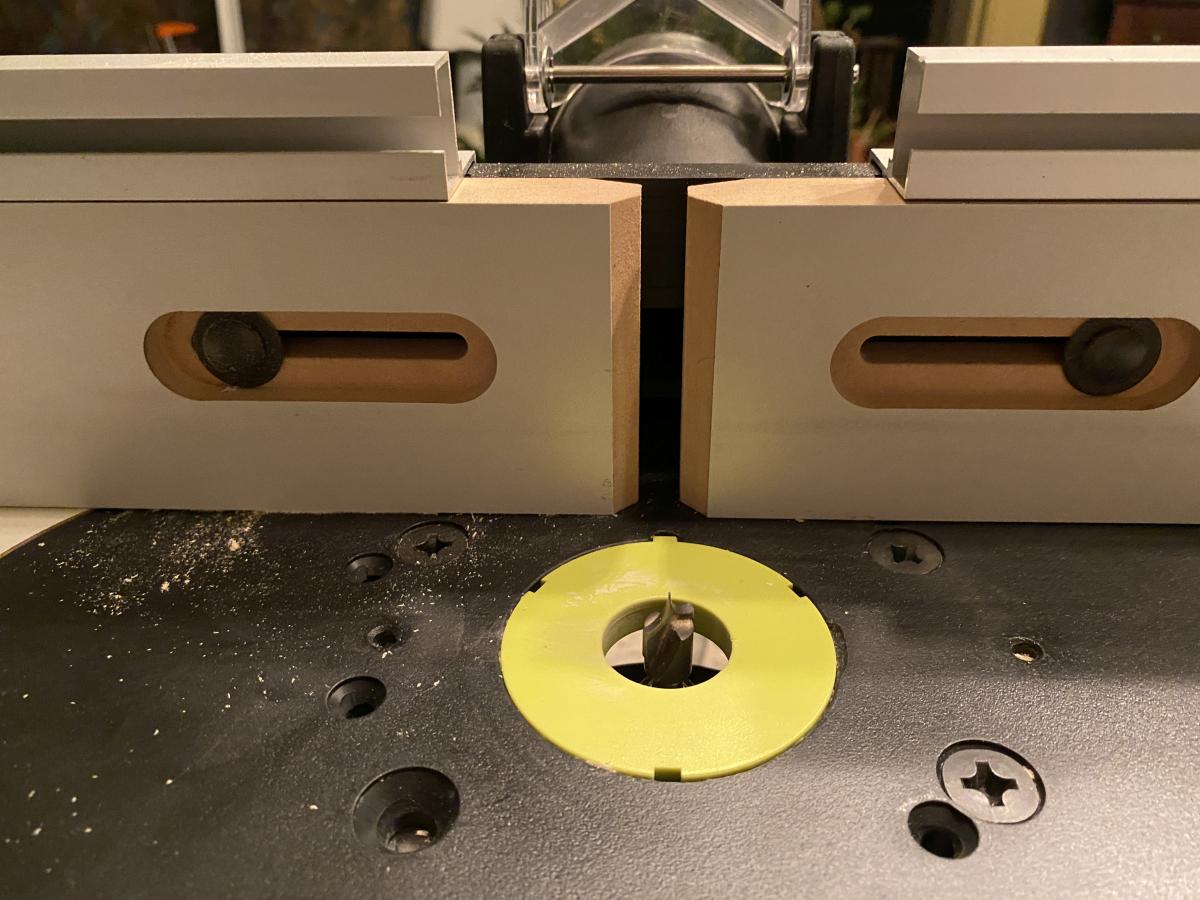
And there it is! Now I have the ability to round over edges, shape projects, cut grooves and dadoes with wild abandon, and a heck of a lot more.
A router and especially a router table can really open up a wide range of things you can do with woodworking you might not have been able to do before, even if you aren’t a professional!
With the table set up initially (still working on getting everything as accurately tuned up as possible), I grabbed a few different patterned bits and jumped in. What I made are down and dirty samples of how different bits look and feel to share with my friend before jumping into mass production.
The process of making them is simple, at least as I have it in my head so far:
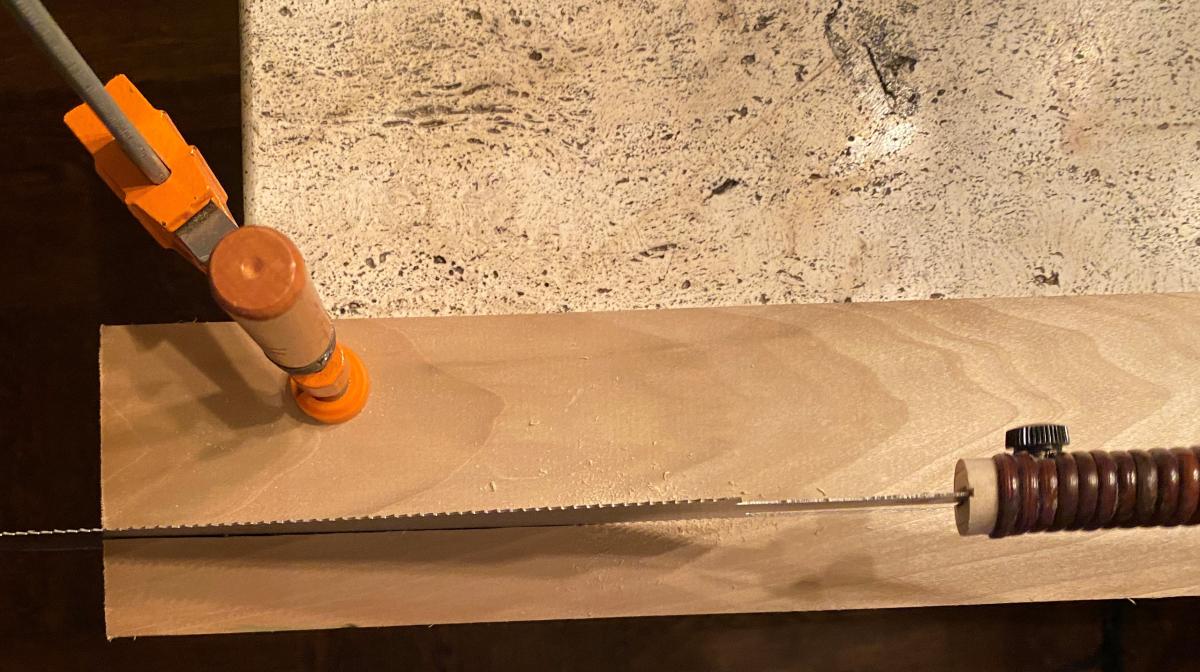
Cut lengths of wood to width, 1” thick cedar boards in this case
Again, no bench, dining room table. Cutting wood to width with a Japanese ryouba.
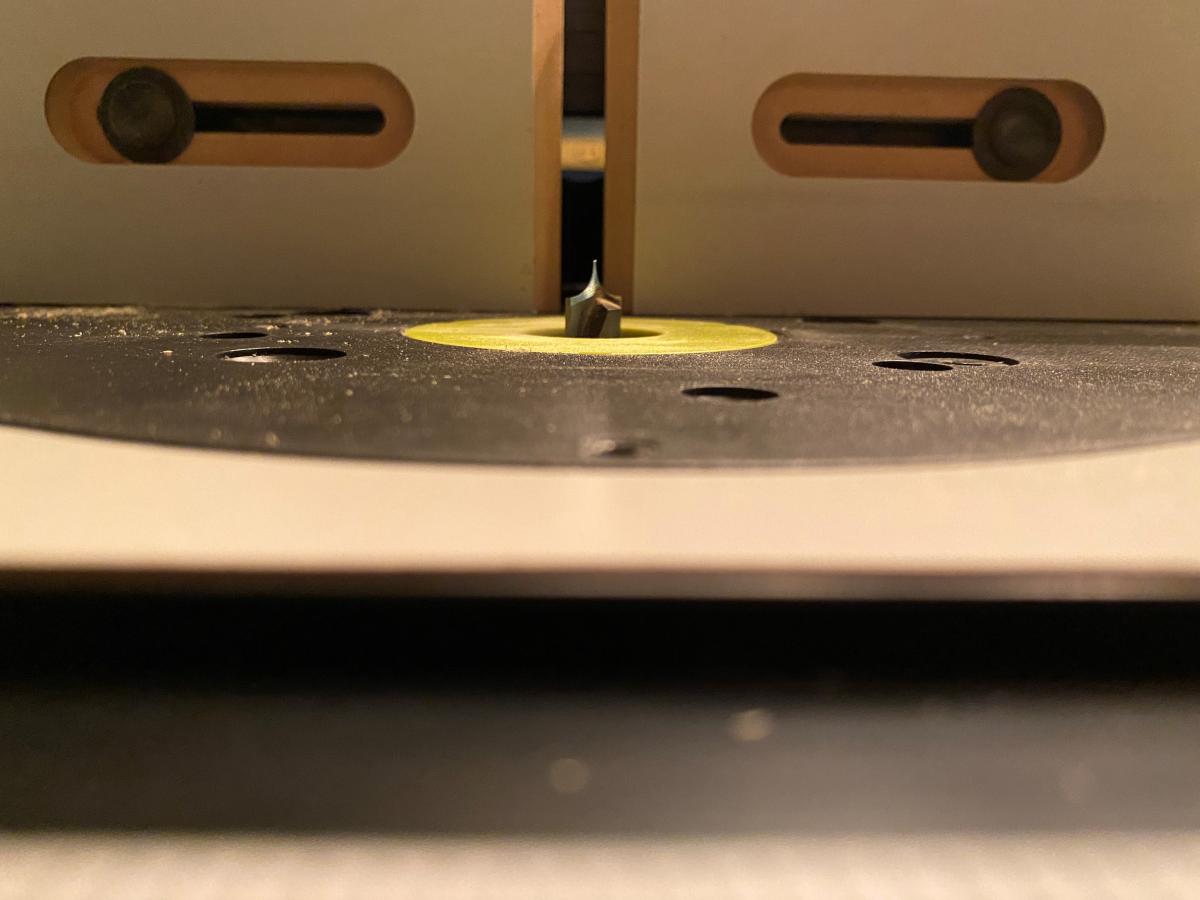
Rout out the design on the table. This means measuring and marking where the first groove goes, and then moving the fence in even steps after each cut until the entire board is patterned.
Setting the height for the cut.
Cut the boards to final length (4”).
Sand and finish the cut dishes. I haven’t decided on a finish yet, and sanding is just to soften sharp corners and clean up any burn or tool marks from the router.
I am sharing the rough drafts here, and will share more if I move forward with the project. I am also planning out a few nicer handmade soap dishes as another option for sale at a higher price.
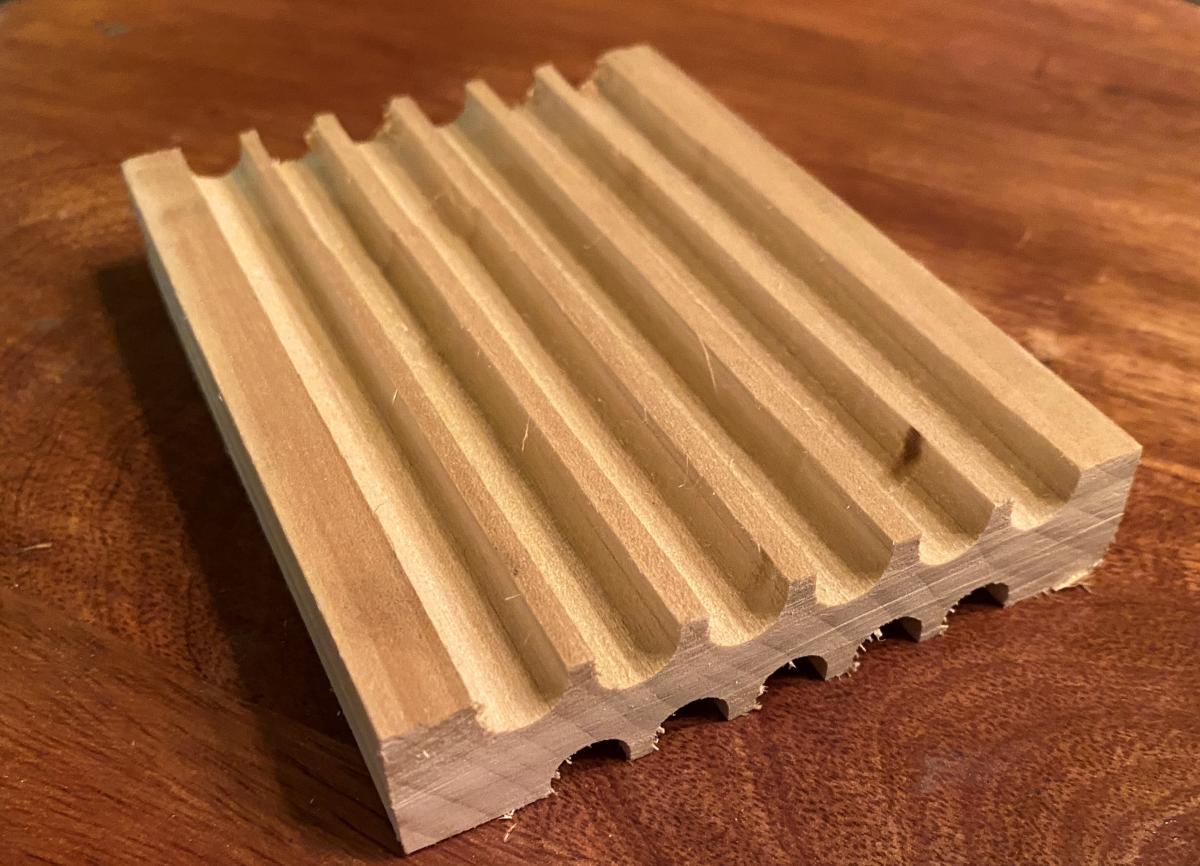
First try! Not pretty but does the job. I don’t like the boxy edges, and it needs sanding etc. But it made me happy to see. This is a simple round nose bit, which cuts out a round-bottomed groove.
Kinda cool but might be a bit too much. First attempt with a point cutting roundover bit from Whiteside.
Share why you love your router table below, what you use it for, and any tips you have for making multiple copies of your projects.
**The same things that make routers so versatile and useful also make them potentially pretty dangerous, so as always it is not safety first, but safety first, last, and always!!
Nota Bene: After writing this blog entry Joel suggested having a lumberyard cut custom shaper knives and then run the material for me. From a production standpoint, with repeat volume this is the way to go. The lumberyard should produce something with a decent finish but for sanding and final finishing I would use a Festool LS130 Linear Sander
Join the conversation
10/21/2021 Jerry Dye
I don't think that I would be comfortable running 4" pieces over the router. I would go with running long lengths and cutting to length after routing.
10/21/2021 Joe Samalin
Jerry - thanks and absolutely how I will be doing it. Wouldn't want to do that either. Of course I first have to figure out why the two sides of the fence on the table are not even, or make a new fence. Sigh.
10/21/2021 Don Hess
At first I thought you were showing a piece of standard fluted case moulding. It looks very similar and could be purchased in 8' lengths and just cut to length.
Being a hand tool woodworker, I would have a plane blade made with the profile I needed. Then make a jig for the plane to ride in, fix an 8 or 10' board in place, and plane away. Or find an old moulding plane with an appropriate profile. It could be done quickly, with little noise or dust. You could easily turn out 200 of these in a day, once you get everything set up.
10/21/2021 Joe Samalin
Dang that is uncanny Don, thanks for sharing. I had never thought of molding or similar pre-shaped wood as an option, only of making something myself. But your suggestion and Joel's as well are good ideas I am looking into. Thanks again!
If I were to be doing this, I'd grind 1 or 3 profile knives and run it through my molding machine. Then run the long boards alternating sides as the cuts are the same. Seems much safer than cutting on a shaper. Big molding heads spinning on a shaper spindle kinda scare me.


 Joel's Blog
 Built-It Blog
 Video Roundup
 Classes & Events
 Work Magazine
https://www.homedepot.com/p/House-of-Fara-3-4-in-x-3-in-x-8-ft-Oak-Wood-Fluted-Casing-Moulding-9584/202705423